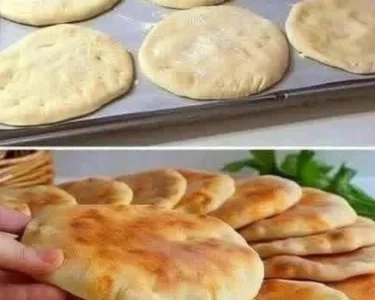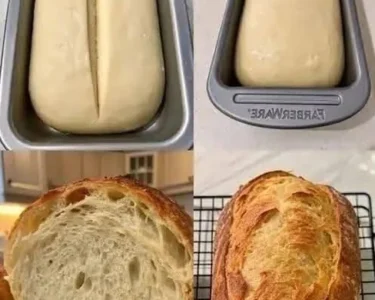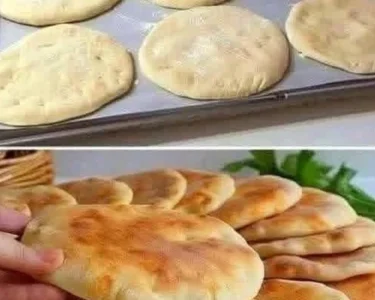
Prep time20 minutes
Total time~6 hours (mostly inactive)
Servings1 large round loaf (serves 12)
Ingredients
- Unbleached Bread Flour: 4 cups (500g) — High protein content for structural integrity.
- Whole Wheat Flour: 1 cup (120g) — Adds a subtle nutty flavor and rustic crumb flecks.
- Instant Yeast: 2 teaspoons (7g) — Ensures a consistent, reliable rise.
- Kosher Salt: 2 teaspoons (12g) — Regulates yeast activity and enhances overall flavor.
- Lukewarm Water: 2 cups (480ml) — Target temperature around 38°C to activate yeast.
- Cornmeal: 1 tablespoon — Used for dusting the proofing basket to prevent sticking.
Instructions
Step 1: Combining the Dry and Wet Ingredients
- In a large, wide mixing bowl, whisk together the bread flour, whole wheat flour, instant yeast, and kosher salt until thoroughly distributed. Create a well in the center and pour in the warm water. Using a sturdy wooden spoon or a silicone spatula, stir vigorously until a wet, shaggy dough forms and no pockets of dry flour remain. The dough will look sticky and loose—this is completely normal for high-hydration artisan breads.
Step 2: Bulk Fermentation (The First Rise)
- Cover the mixing bowl tightly with plastic wrap or a damp kitchen towel to lock in humidity. Set the bowl in a warm, draft-free zone (ideally 24°C to 26°C) and let it ferment for 3 to 4 hours , or until it has doubled in bulk and shows airy bubbles across the top.
- Pro-Tip for Maximum Flavor: For a deeper, sourdough-like flavor profile, transfer the covered bowl straight to your refrigerator after mixing and let it cold-ferment for 12 to 24 hours. Bring it to room temperature for 1 hour before shaping.
Step 3: Pre-shaping and Bench Rest
- Generously dust your clean work surface with unbleached flour. Gently release the dough from the sides of the bowl and turn it out onto the floured counter. Dust your hands lightly.
- Using a bench scraper, gently round the dough into a loose circle. Let it rest uncovered on the counter for 15 minutes to relax the gluten strands, making it much easier to handle for final shaping.
Step 4: Final Shaping
- Flip the rested dough over so the smooth side faces down. Fold the outer edges toward the center like an envelope, then flip the dough seam-side down. Cup your hands around the base of the dough and pull it toward you against the un-floured counter, rotating slightly with each pull to build tight outer surface tension into a smooth round ball (boule).
Step 5: Final Proofing
- Line a proofing basket (banneton) or a medium glass bowl with a clean cotton tea towel. Dust the cloth heavily with flour and a light pinch of cornmeal. Invert your shaped dough seam-side up into the basket. Cover loosely and let it proof at room temperature for 45 to 60 minutes , until puffy and gently springy when pressed with a floured finger.
Step 6: Preheating the Baking Vessel
- While the bread finishes its final rise, place a heavy cast-iron Dutch oven (complete with its lid) onto the middle rack of your oven. Preheat the oven to 230°C and allow the Dutch oven to heat up inside for a full 45 minutes. A scorching hot vessel is the secret weapon to achieving professional oven spring and blistering crust texture.
Step 7: Scoring and Baking (Covered Phase)
- Carefully remove the blazing hot Dutch oven from the oven and take off the lid. Invert the proofed loaf out of your basket directly onto a sheet of parchment paper.
- Using a sharp lame, razor blade, or sharp knife, make one decisive, 1/2-inch deep slash across the top of the loaf at a slight angle. Grab the corners of the parchment paper and lower the loaf carefully into the hot Dutch oven.
- Place the lid back on to trap the moisture escaping from the dough, and bake for 25 minutes . This steam bath prevents the crust from setting too early, allowing the bread to reach its maximum volume.
Step 8: Browning (Uncovered Phase)
- Remove the lid of the Dutch oven to vent out the remaining moisture. Continue baking the bread uncovered for another 15 to 20 minutes , until the crust turns a rich, deep mahogany color and the bottom sounds hollow when tapped.
Step 9: Cooling and Storing
- Transfer the hot loaf immediately to a wire cooling rack. Resist the urge to slice into it immediately. Allow the bread to cool completely for at least 1 to 2 hours. Cutting into hot bread causes the internal starches to compress, resulting in a gummy, wet texture instead of a light, airy crumb.
- Storage: Store the cooled loaf cut-side down on a wooden cutting board covered with a clean linen towel for up to 2 days, or slice and freeze in an airtight bag for up to 2 months.
Nutrition
Calories: 185 kcal · Protein: 6g · Fat: 1.0g Saturated Fat: 0.1g · Carbohydrates: 37g Dietary · Saturated Fat: 0.1g Trans · Fiber: 3.5g · Sugar: 0.5g · Sodium: 340mg
Visited 1 times, 1 visit(s) today
Tags: bread, flour, peasant, unbleached Last modified: October 12, 2026